Halloween is just around the corner. We all know what that means – fun costumes, fall festivals, and bowls full of candy! But what do you do when you’re trying to navigate all that Halloween candy with braces on your teeth?!
This particular holiday can often be source of anxiety for our braces patients and parents, especially with all those nuts, caramels, gummies, and other crunchy, sticky foods that tend to be tricks rather than treats (on the braces at least).
Although this can all sound scary, does it mean your ghoulish evening out has to be treat-free if you or your children have braces? Of course not!
It just so happens that October is also National Orthodontic Health Month. With that in mind, we’ve compiled a list of candies you can indulge in, and some candies that are better to avoid. We’ve also covered some simple tips on ways to keep teeth clean and healthy during Halloween.
Since we’re feeling really generous this month, we’re going to include two recipes for making your own spooooOOOoooky treats that are completely braces-friendly!
Candy That’s Frightening – Eat At Your Own Risk
There is no greater enemy to braces than sticky candy! That means avoiding things like:
- Caramel
- Bubblegum
- Hard Candy
- Taffy
- Licorice
- Nuts
- Jelly Beans
- Candy Corn
- Popcorn
- Chewy Candy
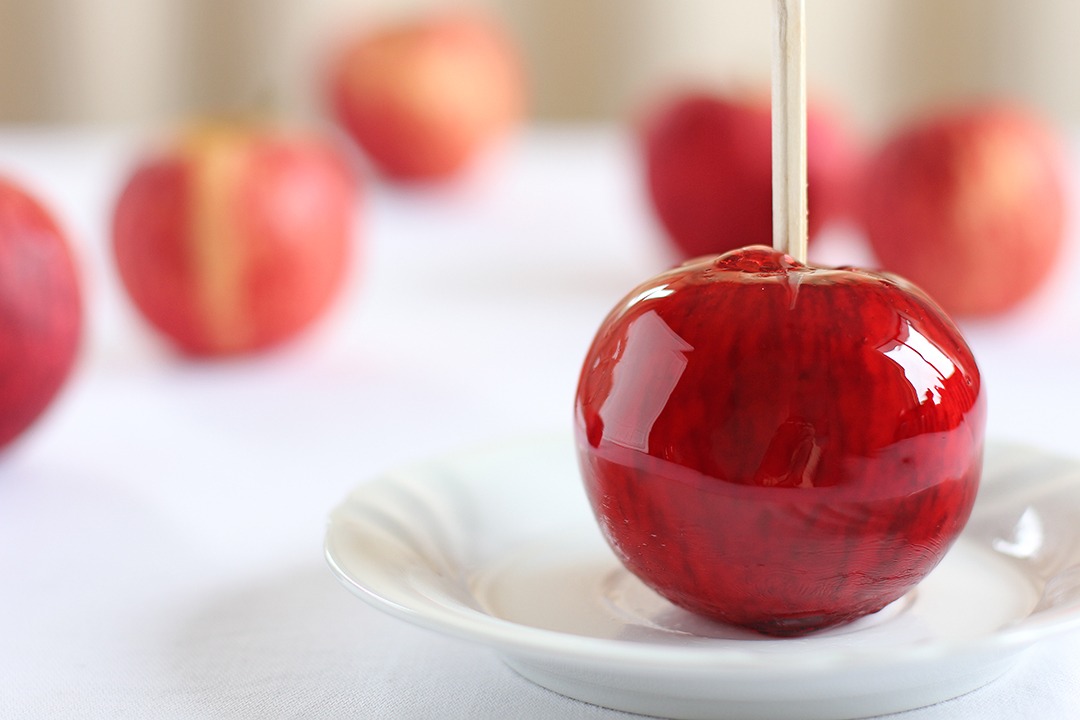
- Candy Apples
As yummy as these candies are, they can easily wreak havoc on your braces. And if your teeth are still tender from new orthodontic work, these types of treat can actually be painful for you to chew.
Speaking of, chewing on hard candy puts a huge amount of pressure on your braces, which can often lead to broken brackets and bent wires. And while popcorn might look safe and fluffy, those kernels love to launch sneak attacks to get caught in between teeth and cause uncomfortable inflammation.
At this point you might be feeling like navigating Halloween candy with braces is nothing but doom and gloom, but have no fear! We’re getting to the good stuff now.
Candy That Isn’t Creepy – Go Crazy Folks
Whether you’re the one handing out candy or helping your child find braces-friendly treats in their stash, anything that has soft chocolate is a great choice. This includes classic candies like:
- Reese’s Peanut Butter Cups
- Kit Kats
- Plain M&M’s and Reese’s Pieces
- 3 Musketeers
- Oreos
- Hershey Bars & Hershey’s Kisses
Generally, any candy bar without caramel or nuts will be fine. Just remember to be careful with bigger sized candy bars—biting into the chocolate could damage the braces on your front teeth, so breaking larger bars into smaller pieces is a better idea. Luckily, Halloween is full of fun-sized bars!
As long as you pay careful attention to what treats you’re chomping on, Halloween candy with braces is definitely doable.
Halloween Candy With Braces Basics
Be sure that you don’t forget basic braces care in the excitement of Halloween! Continue taking extra care when brushing and flossing your teeth. Even if the only candy being eaten is braces-friendly, the increased amount of sugar hitting the teeth can still be detrimental.
Another great way to keep teeth clean is to pair a glass of water with any treat time. Not only is it more convenient than brushing your teeth five times a day, but the water will help to remove sugary debris from building up around your braces and hanging around on your teeth.
Practicing good oral care in general will help to prevent any cavities as you make your way through that giant bag of Halloween candy!
Frightfully Good Halloween Recipes
If you’re planning on throwing a Halloween party, or just have an invitation to one, look at it as an excellent opportunity to provide braces-friendly snacks. Things like cupcakes and pudding snacks are treats that everyone can enjoy, braces or not!
Here are two recipes for delicious desserts you can whip up in no time and share with all the ghouls and ghosties in your life this Halloween. These might even be better than plowing through your stash of Halloween candy!
Pumpkin Cookie Pops
(This cookie pops recipe is adapted from www.pumpkinnook.com)
Ingredients:
3/4 cup unsalted butter, softened
1/2 cup brown sugar, firmly packed
1/2 cup canned or fresh cooked pumpkin
1 tablespoon orange zest
1 egg yolk
1 teaspoon pure vanilla extract
2 1/4 cups all-purpose flour
1/4 teaspoon ground cinnamon
1/4 teaspoon ground ginger
1/4 teaspoon ground nutmeg
Pinch of salt
20 wooden sticks (tongue depressors or Popsicle sticks)
Directions:
- Preheat oven to 350 degrees F.
- In a large mixing bowl, use an electric mixer to beat the butter, brown sugar and orange zest. Add the pumpkin, egg yolk and vanilla, and blend.
- Gradually add the flour and spices. Mix with your hands to create a soft dough. Wrap in plastic and refrigerate for 30 minutes.
- Divide dough into two portions. Roll out each piece to 1/4-
inch thickness on a floured surface. Cut into pumpkin shapes with cookie cutters.
- Place on ungreased baking sheet and securely insert a wooden stick into the bottom half of each pumpkin cookie.
- Bake for 12 to 15 minutes.
- Decorate with your favorite frosting and Halloween decorations.
Peanut Butter Eyeballs
Ingredients:
¼ c. butter, completely softened
2 c. plus 2 Tbsp. powdered sugar
1 c. creamy peanut butter
1 ½ c. toasted rice cereal (like Rice Krispies)
12 oz. white chocolate
1 Tbsp. vegetable oil
Food coloring (two colors)
Directions:
- Combine the butter, powdered sugar, and peanut butter in a bowl of an electric mixer fitted with a paddle attachment. Mix on low speed until well combined. (If you don’t have an electric mixer, this can be done by hand.)
- Mix in the toasted rice cereal; Using your hands, form into ½ oz. balls (the size of a large marble) and refrigerate until firm (about 1 hour).
- Place the white chocolate in a microwave-safe bowl. Melt, adding vegetable oil partway through. After all chocolate is melted, stir until smooth.
- Dip the balls, one at a time, into the melted white chocolate mix using a fork to roll them around so they are entirely coated; remove them from the chocolate and set on a waxed paper lined sheet pan. Chill to set up (about 30 minutes).
- Separate remaining white chocolate into two bowls and add 1-2 drops of food coloring to tint each bowl a different color.
- Reheat chocolate if necessary, and using a small spoon, place a dollop of the colored chocolate on each eyeball to make an iris. Use a smaller drop of the contrasting color for the pupil.
- Let the chocolate set; place balls in individual mini muffin papers and serve.
Makes 36 peanut butter eyeballs.
Sharing is Caring
If you’re like us, and don’t like the idea of wasting treats that aren’t suitable Halloween candy for those with braces, never fear! There are a lot of recipes that use Halloween candy, or you can bring candy to the office to share (you know it won’t last long!) Another option is to donate the candy to an organization like Operation Shoebox, which packages up candy to send to troops overseas, or the Ronald McDonald House, which passes out candy to visiting patients and families.
Remember that if you ever have any questions or concerns, including worries about navigating Halloween candy with braces, our talented team here at Dudley Smiles are only a phone call away. We’re always happy to set your mind at ease. We wish you a safe and happy Halloween!